Hey guys, In this article, we are going to review the mighty VPS cloud Hosting Provider Upcloud. In this Upcloud review, we will try to explore every possible aspect as like “What is Upcloud?”, “How to Signup For Upcloud?”, “How Fast is Upcloud?” and best alternative of upcloud. Let’s start the detailed review of upcloud Hosting Provider:
What is Upcloud?
Upcloud is a Finland based Cloud hosting Provider, offering VPS hosting to every types business big to small. According to Upcloud, they offer the fastest in the comparison of AWS, Azure, Digitalocean, vultr, and Linode in term of Read-Write Speed, Memory (Kops/sec), CPU (events), and pricing. So, we test all these bids in our end. It offers customer support which is unparalleled make this VPS cloud hosting a superior hosting provider.
How to signup for Upcloud vps cloud Hosting ?
In this section of upcloud review, we are going to illustrate the possible ways a webmaster must go through for successful sign up in the platform. These steps are highly beneficial, and every one of you must have to follow these steps. these steps are listed below:
- Go to Upcloud’s Official Website – Link
- Select username and Password
- Give Your Credit card or Debit card
- Thus, you have completed Signup Process
How To Setup Server in Upcloud?
During my upcloud review, we find following method to setup your server in the Upcloud. These basic method to depoly server in upcloud are listed below:
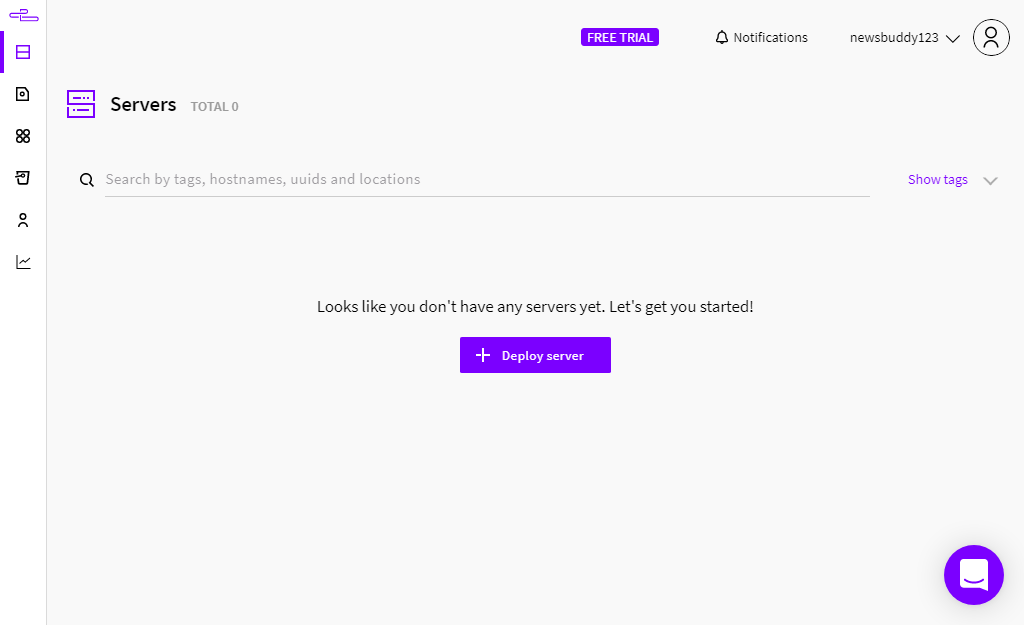
You have to go to server section of the Upcloud, then you have to click on deploy server button on the server as shown in the image below:
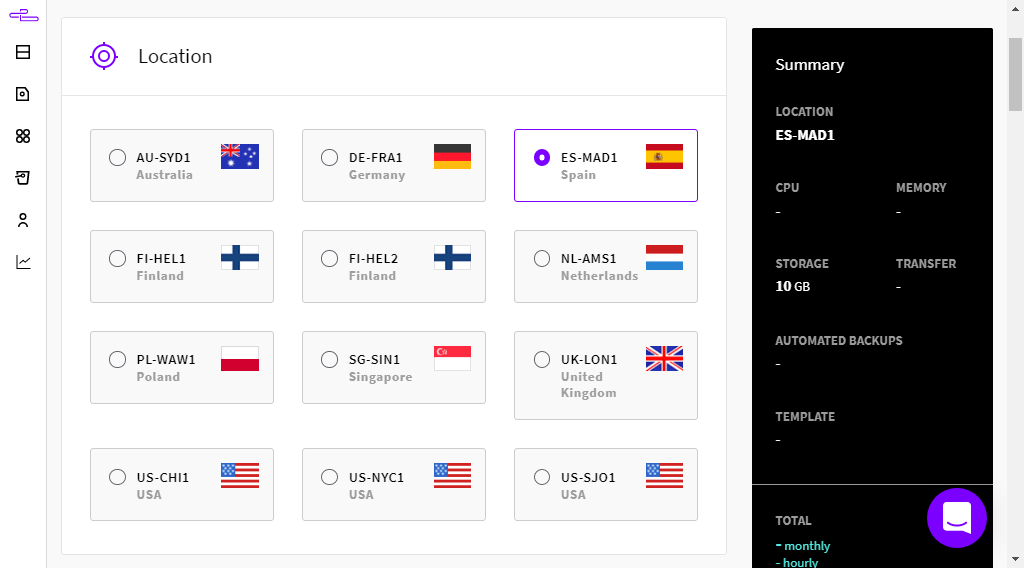
Now you have to select the server location in the available data center around the globe.
Now, you have to select server size of the your server or plan that perfect for you starting from $5 per month for 25 GB SSD and 1 gb ram. Now, you have to select os of your server.
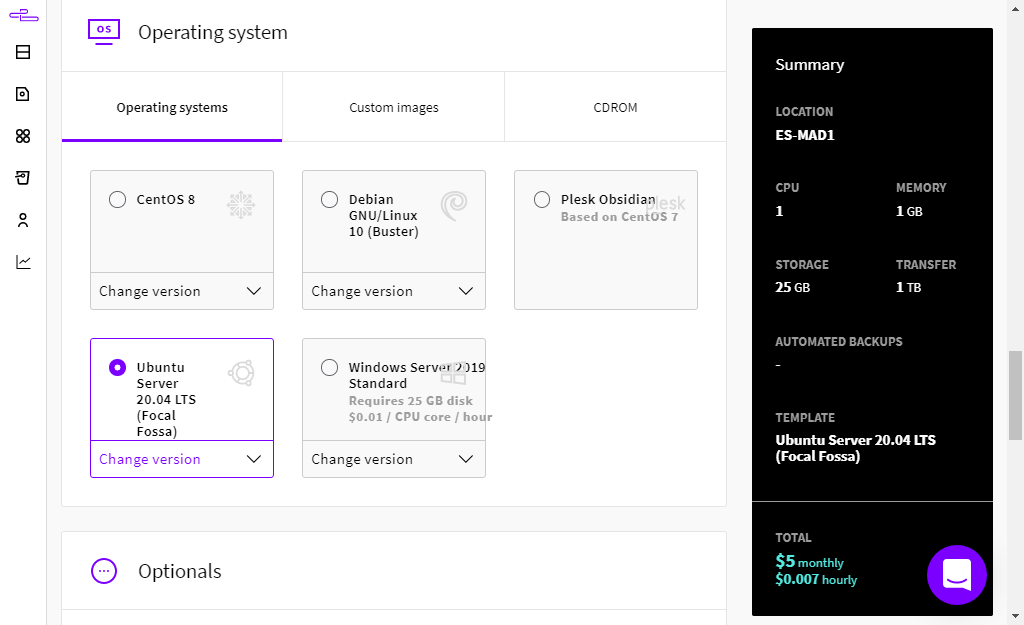
Thus, you have created your server in one of the fastest server popularly known as upcloud.
Install WordPress in the upcloud:
To install WordPress in your server hosted in the upcloud data centre, you can either CyberPanel, or open-source lightspeed server or anything other to install WordPress. How to install is here.
here is a Practical example to install WordPress through Cyberpanel in the upcloud servers. To install cyperpanel, you must have to follow the following step: These steps are listed below:
Click on the server, click on the the console and then click on the open the console connection button, thus you are connected with your server through SSH.
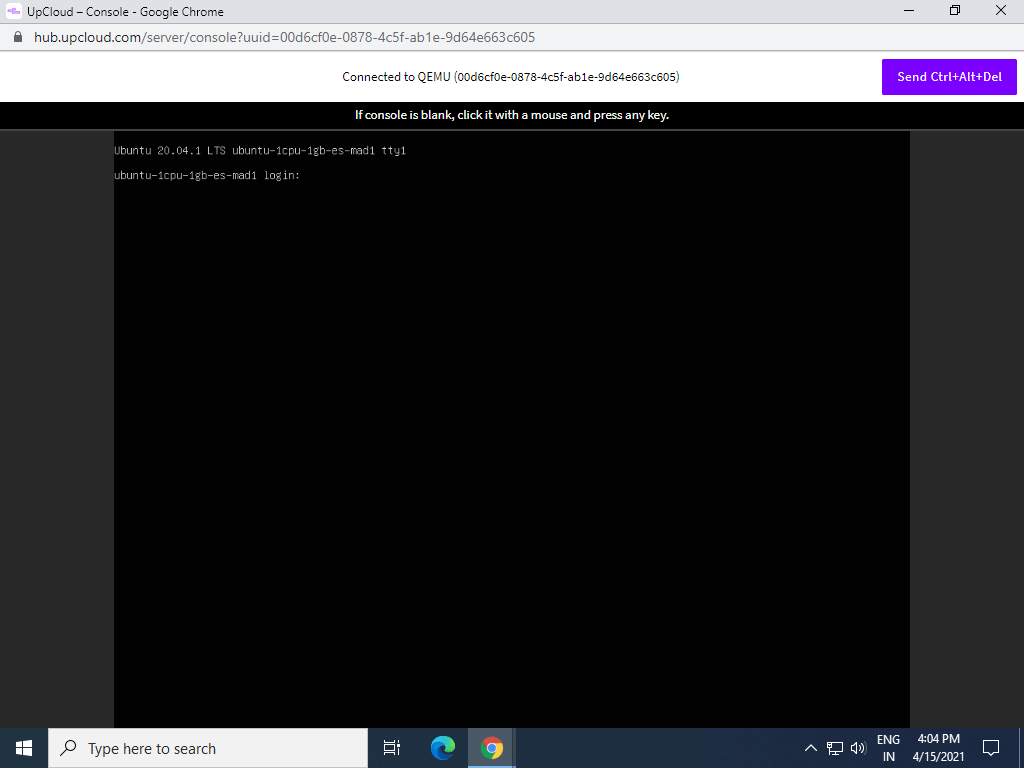
Now, login in the SSH or putty(Recommended), through id or password sent to you by Upcloud through Email. After successful login, type the codes listed below:
sudo apt-get update && sudo apt-get upgrade -yNext, to install CyberPanel you’ll need to download the installation script of cyberpanel in your server. You can do this for example in the /tmp folder which is cleaned up automatically at each reboot. Change into the directory then use wget to down the install script with the commands below.
cd /tmpwget -O installer.sh https://cyberpanel.net/install.shThe installation script needs to be made executable. Change the file permissions of the script we just downloaded using chmod as shown underneath.
chmod +x installer.shThen run the installer using the next command.
sh installer.shThus, you have installed CyberPanel successfully. Now, you can install WordPress-based LiteSpeed server.


